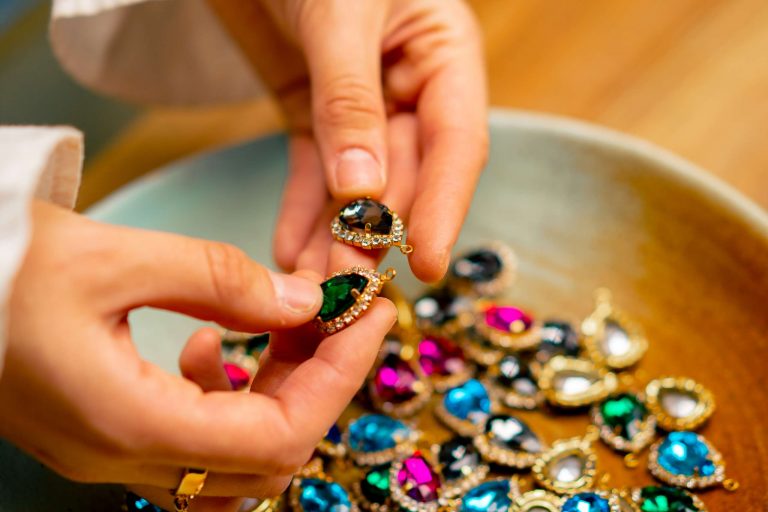
The most frustrating moment in a jeweller’s career is trying to set stones for the first time. You may have filed the bezel to a smooth finish but when you push it over the stone, it wrinkles, tilts, or leaves the stone loose in the setting. It’s easy to blame your shaky hands, but the problem lies earlier on. You begin setting stones before you push the metal over the stone. You start with preparing the seat, maintaining proportions, and checking the fit from all sides before applying pressure. If you rush through these steps, you will make the last step much harder than it has to be.
Before you practice setting an expensive stone, first practice with a simple round cabochon and a plain bezel cup. Use a soft metal for the bezel cup. Before you push the bezel over the stone, place the stone in the setting and observe it. If it tilts, your seat is not level. If it sits too deeply, you have removed too much material. If it sits too high, your bezel wall may be too high or you haven’t undercut the inner ledge. Fast learning comes from repeating this step several times with test stones rather than finishing one stone too quickly. You will learn what a properly seated stone looks like.
If you push too hard in one area before going around the rest of the stone, you will apply uneven pressure, causing the stone to tilt or the bezel wall to crease. Instead, work in small increments rather than applying force. Give a little push here, then a little push there, then rotate and repeat, gradually pulling the metal over the stone. It might help to imagine tightening a circle rather than closing a lid. If the bezel begins to fold over unevenly, stop and check the height of the wall all around. You may find that rather than applying more pressure, you need to work more gently and in more, evenly spaced, increments.
You don’t need to spend a lot of time practicing. Spend 15 minutes with one shape stone and one style of setting. The first 5 minutes, practice placing the stone in the setting and removing it without abrading the stone or the setting. Then spend 5 minutes laying in the high spots where the stone is too tight and carefully refining those areas. Finally, spend 5 minutes partially setting the stone by going around the setting. This won’t feel very satisfying because you’re not completing the setting, but it will help you develop control. You are teaching your hands to manipulate the metal before the final setting asks you to commit.
If you get frustrated, use bigger, not smaller settings. Small settings and sharp corners require precision most beginners haven’t yet developed. A large, round setting will give you time to feel resistance and adjust to it. Using soft metal for a practice setting will also help. It will allow you to see where you apply too much pressure without fighting back. If you keep leaving tool marks on the setting, either wrap the tool or refine the tool tip. If you chip or crack the stone, go back to using a more durable practice stone until your technique becomes more consistent.
Finally, don’t just practice setting stones. Observe your results. After every stone setting attempt, turn your piece under the light and observe the setting. Look for openings, uneven heights, flat spots, tool marks. Then try to figure out what you did to cause the problem. Perhaps the stone was seated too high. Perhaps you applied too much pressure in one area too soon. Perhaps the wall was too thick for the size of the stone. These little diagnoses are important. They will help you turn a bad result into a valuable one, and eventually, you will set that bezel with less force, greater accuracy, and a steadier hand.